

Photograph by George Chilton
A designer Lessons ESL lesson plan developed by George Chilton
I realise that I’m introducing this class idea in mid-February, which isn’t a time when very many new classes begin. Then again, it’s a blog – and who said blogs had to be logical eh?
Anyway, this is an icebreaker and getting to know you activity for new group of students, ideally for use in the second or third class. They will practise question formation – of both open and closed questions.
This class can also be used as a group formation activity, allowing students to share and discuss the experiences they have had in their city. They will be able to compare and contrast their lives, and get to know each other a little better. They’ll also get some presentation practice in, and that’s always a good thing.
Class: My City – Our Story; A Group Formation and Introduction Activity Using Skyline Photographs
Aims:
- Group formation/getting to know you
- Description of cities
- Present perfect revision
- Question formation
Level: Pre-intermediate – intermediate Trinity Grade 5-6, B1 CEFR, teens and adaptable for adults
Materials
- Photo of city skyline – digital or physical.
- Different coloured pens suitable for writing / or laptop.
- A3 white card for display backing / or PowerPoint.
Cover image: by George Chilton
Preparation
Supply, or have your students supply, a photo of their city skyline. This can be a photograph they have themselves taken, or it can be sourced on the internet.
Print these photographs out – one copy per group of four should suffice. Colour is not essential, but it is definitely preferable. Try to print A4 photos, but check that the resolution is high, or you’ll have icky, grainy images. And no-one wants icky, grainy images.
Alternatively, distribute each photograph electronically, and have students work in groups using a PC/laptop/tablet/IWB.
(Though I’ve never had the pleasure of using one, I believe an interactive whiteboard would lend itself nicely to this activity.)
I’m going to write this activity as if you were doing the non-tech version. I’m sure you’ll be savvy enough to adapt the class to your needs. Anyway, I would suggest using physical photos, because that’s way more fun.
Stage One – Warm-up / drill
Put Students in groups of four, and distribute the photographs. Have students glue the photograph to the centre of the A3 display card, leaving enough margin in which to write. They should then write their names at the bottom; each should do so in a different coloured pen. The different colours will help distinguish between student answers later.
They should also write how long they’ve lived in the city (if it’s three weeks or thirty years it shouldn’t make too much of a difference).
They should have something like this:
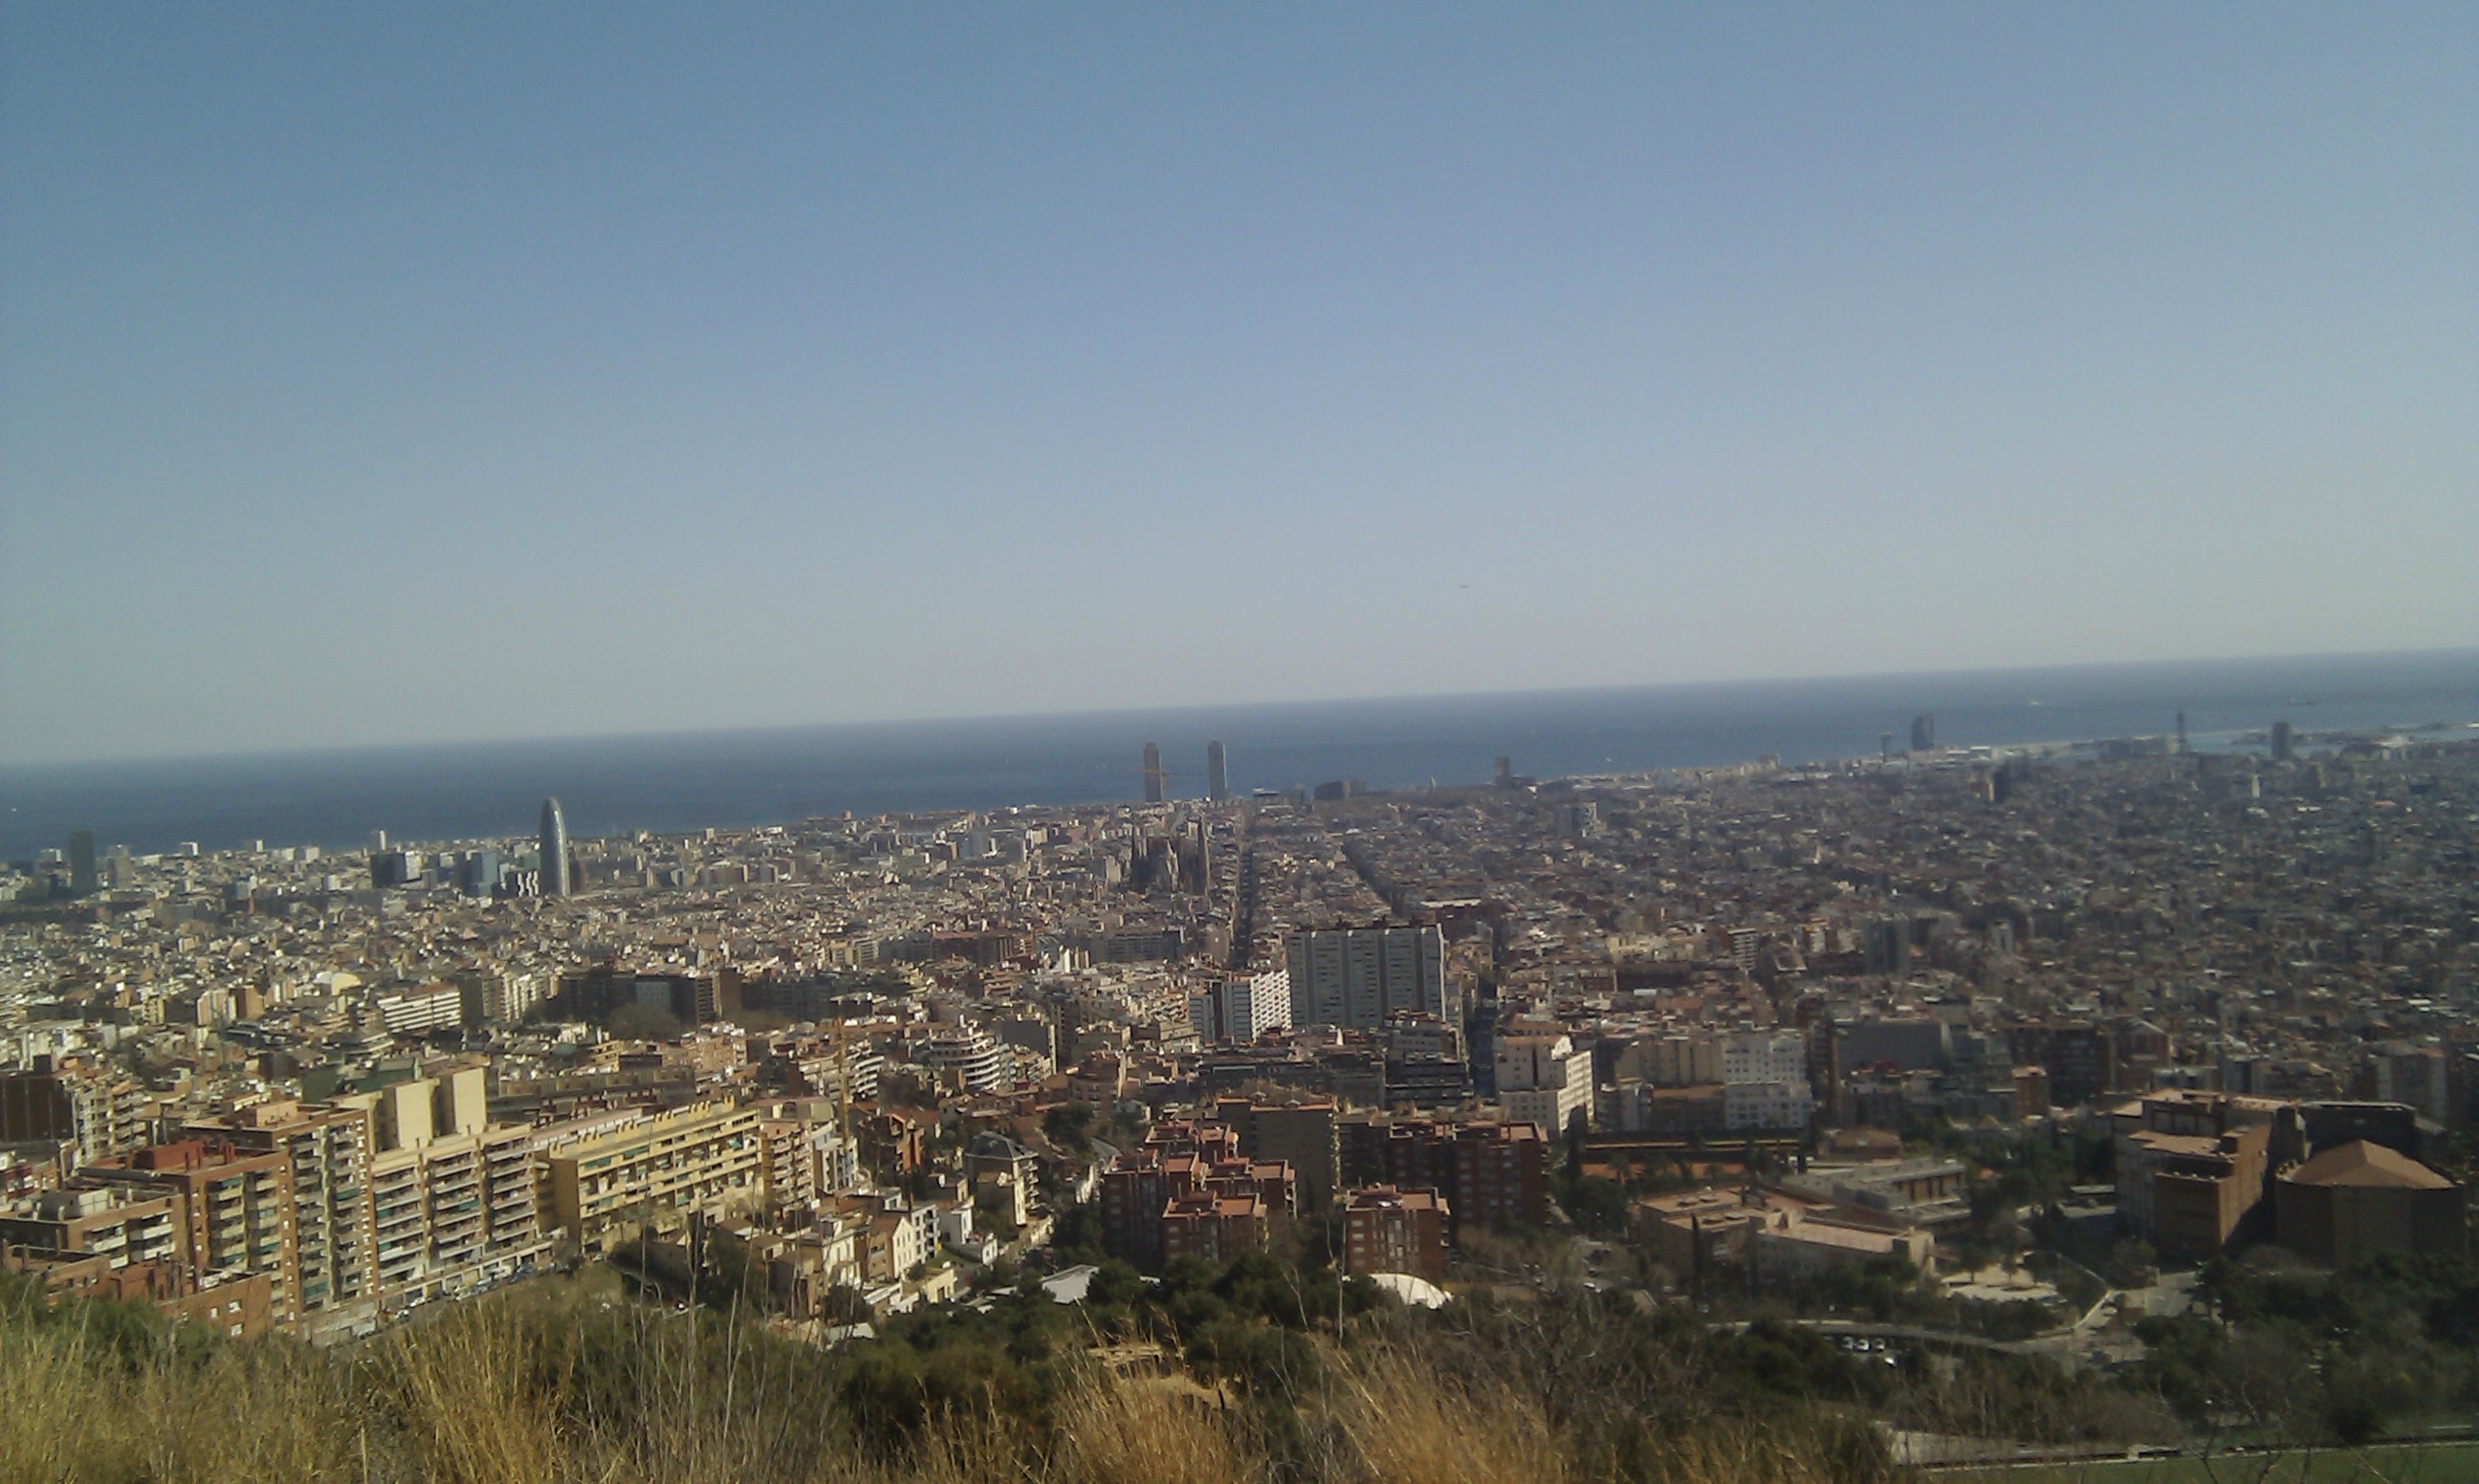
Taken by George Chilton
George – 4 years Neil – 3 years Irene – 20 years
Briefly go around the class, ask the how long they have lived in the city – drilling the present perfect.
Q: How long have you lived in Barcelona?
A: I have lived in Barcelona for 3 years / since 2010.
Focus on the form. Guide students if they struggle, and reinforce the difference between for and since:
For + quantity of time
Since + point in time
Note: Don’t get too bogged down in the grammar; this section should be seen as revision. Note down repetitive errors with a view to correct them later – set controlled practice activities for homework.
Next, ask each student to come up with a (preferably) positive adjective describing the city. Mind-map and list these on the board – (leave lots of space available on the board for later). For example:
Fun Quiet Happy
Dynamic Touristic Famous
Multicultural Modern Warm
Historic Traditional Clean
Leave these adjectives up on the board for future reference.
Stage Two – Silent Answers
Have them locate the general area of the school/academy/office/theme-park you’re teaching in. If the school is out of the city, have them locate a well-known landmark together. In Barcelona, for example, I’d opt for the Sagrada Familia.
While they do so, write the following six questions on the board:
- Where is your favourite place in the city?
- Where have you never visited?
- What would you recommend a tourist to see first?
- Have you ever been lost in the city?
- If you bought a house in the city, where would it be?
- Where do you go with your friends?
I’m sure you’re way ahead of me, but make sure to adapt the difficulty of the questions to suit the group’s level.
Direct the students’ attention to the questions and explain that they should choose three questions to answer.
They should do this secretly: They should NOT tell the other students which questions they are going to answer.
They are going to answer the questions by drawing arrows to the relevant point. For example, in the picture below:
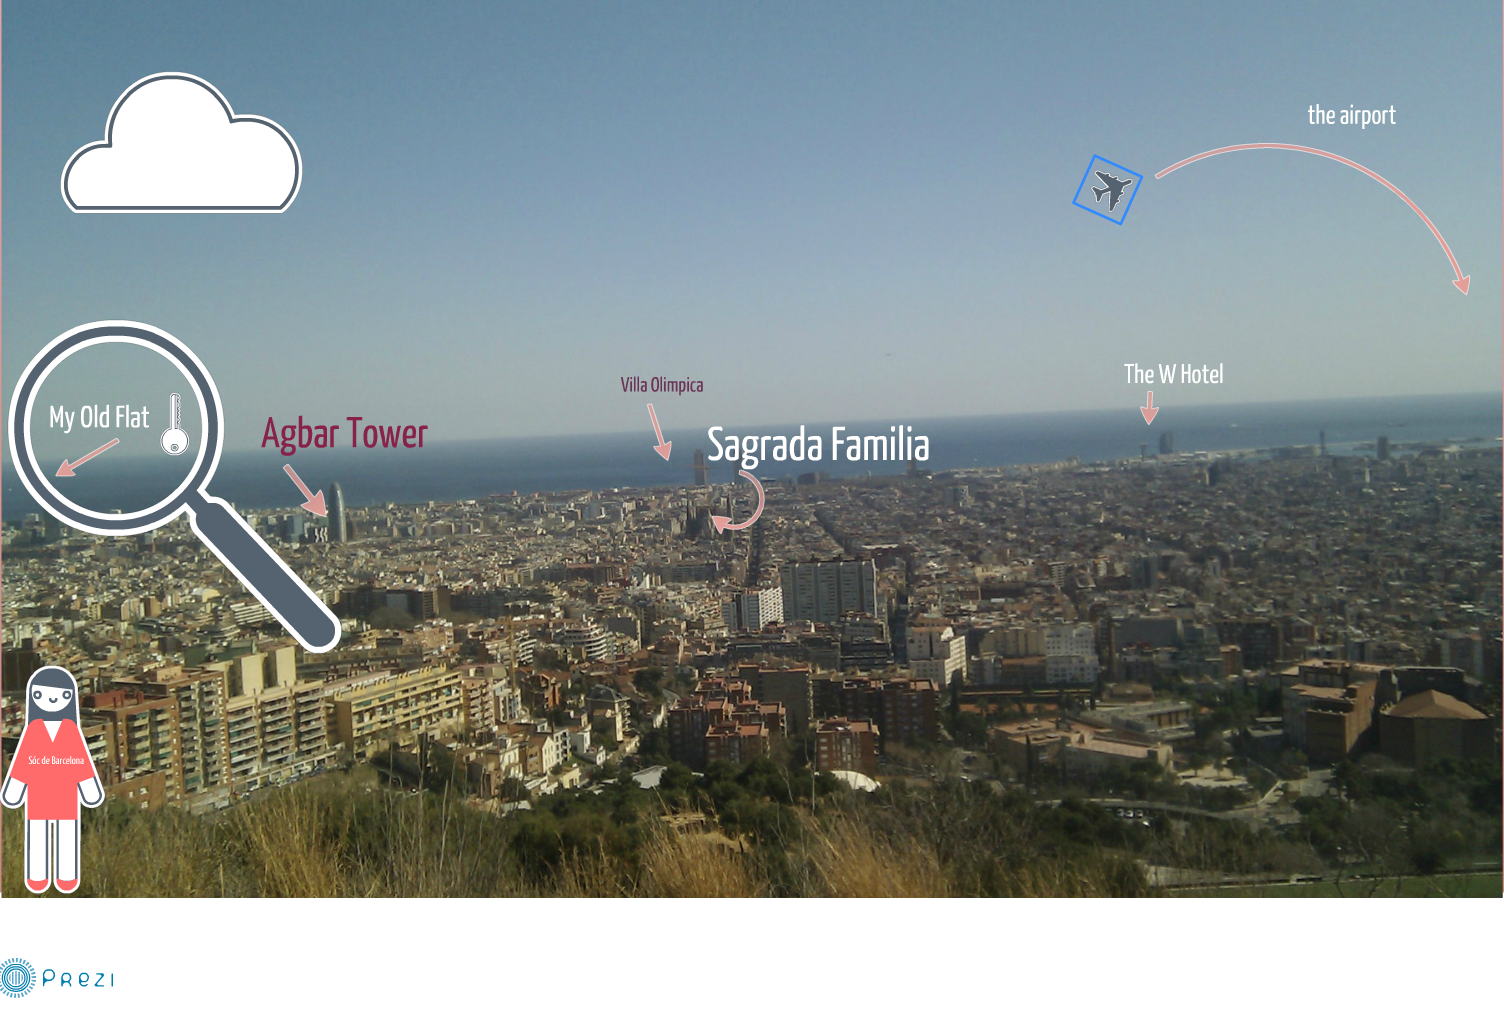
Smartphone picture, taken by George Chilton. Edited on Prezi.com
- Where do you go with your friends? (Arrow points to Villa Olimpica)
- Where have you never visited? (Arrow points to the Agbar Tower)
- What would you recommend a tourist to see first? (Arrow points to the Sagrada Familia)
They should then to take it in turns to label the photograph, drawing an arrow from the location, to the white margin and writing the name of the location. (Note – remind students that each person should use their own colour pen, to distinguish their answers.)
Tell students not to worry too much if they can’t find the exact location – it’s not a geography test after all.
Stage Three – Questions, questions, questions
Each student should have drawn three arrows from the map and labelled it with a place-name. Their labels should be in different colours, corresponding to the colour in which they have written their names.
Ask students to tell you what a closed question is. They should till you that it’s a question that can be answered with Yes or No.
Tell students that they must look at the original questions on the board and convert them into closed questions.
In order to do this, they must look at the map and write one closed question for each labelled location, and also for each question on the board.
They will be able to see which person labelled which place as the colours will indicate this. Model an example for them:
Where do you go with your friends?
Becomes:
Do you visit the Sagrada familia with your friends?
Allow the students five to ten minutes for this question conversion, depending on their level. Monitor and guide them as they do so. Use the answer key below to help make corrections as a class:
Answer Key
- Where is your favourite place in the city?
= Is X your favourite place in the city?
- Where have you never visited?
= Have you ever visited X ?
- What would you recommend a tourist to see first?
= Would you recommend a tourist to see x ?
- Have you ever been lost in the city?
= Have you ever been lost in X ?
- If you bought a house in the city, where would it be?
= Would you buy a house in x ?
- Where do you go with your friends?
= Do you go to the X with your friends?
Stage Four
Now the Students are going to play a guessing game. They must ask each other the closed questions they have prepared.
Model an example for the class, ask a student a question, for example; “Would you buy a house near the airport?”
Elicit the short form answer: “No I wouldn’t / Yes I would”
Tell the students that every time they get an affirmative answer they will get a point. (i.e. Do: do you go to the W hotel with your friends? A: Yes, I do = 1 point)
Have Students ask and answer the questions – total up their points at the end.
Do a quick survey to find out which student got the most points.
Stage Five – Optional Presentation
Give the groups until the end of the class to prepare a presentation on their city. Students should each write a sentence explaining what they like about their city as an introduction. They should include as many of the positive adjectives they mind-mapped on the board at the beginning of the class in these sentences.
Have them then each write three sentences about each of their team members, relating to their personal experiences in the city.
During the preparation stage, they should ask each other follow-up questions in order to make the presentation as interesting as possible. They should compare and contrast they experiences – do they like the same things? Do they visit the same places? Have they ever been lost? Etc., etc.
Have them update the photos with new information around the margin to use as a visual in their presentation.
Stage six – Next Class
Allow time in the next class for the presentations
Take notes as they present; for error correction, but also to praise how well students worked together.
Also tell students to take notes on what their classmates like to do. Write the questions you used to set up the presentation preparation up on the board, and then use those questions to conduct a mingle activity. Encourage the class to ask follow-up questions.
Oh, and don’t forget to display your student maps!

Designer Lessons by George Chilton is licensed under a Creative Commons Attribution-NonCommercial-NoDerivs 3.0 Unported License.

Reblogged this on TeachingEnglishNotes and commented:
a great designer lesson on cities. Very unusual and creative!
Reblogged this on More than Teaching.